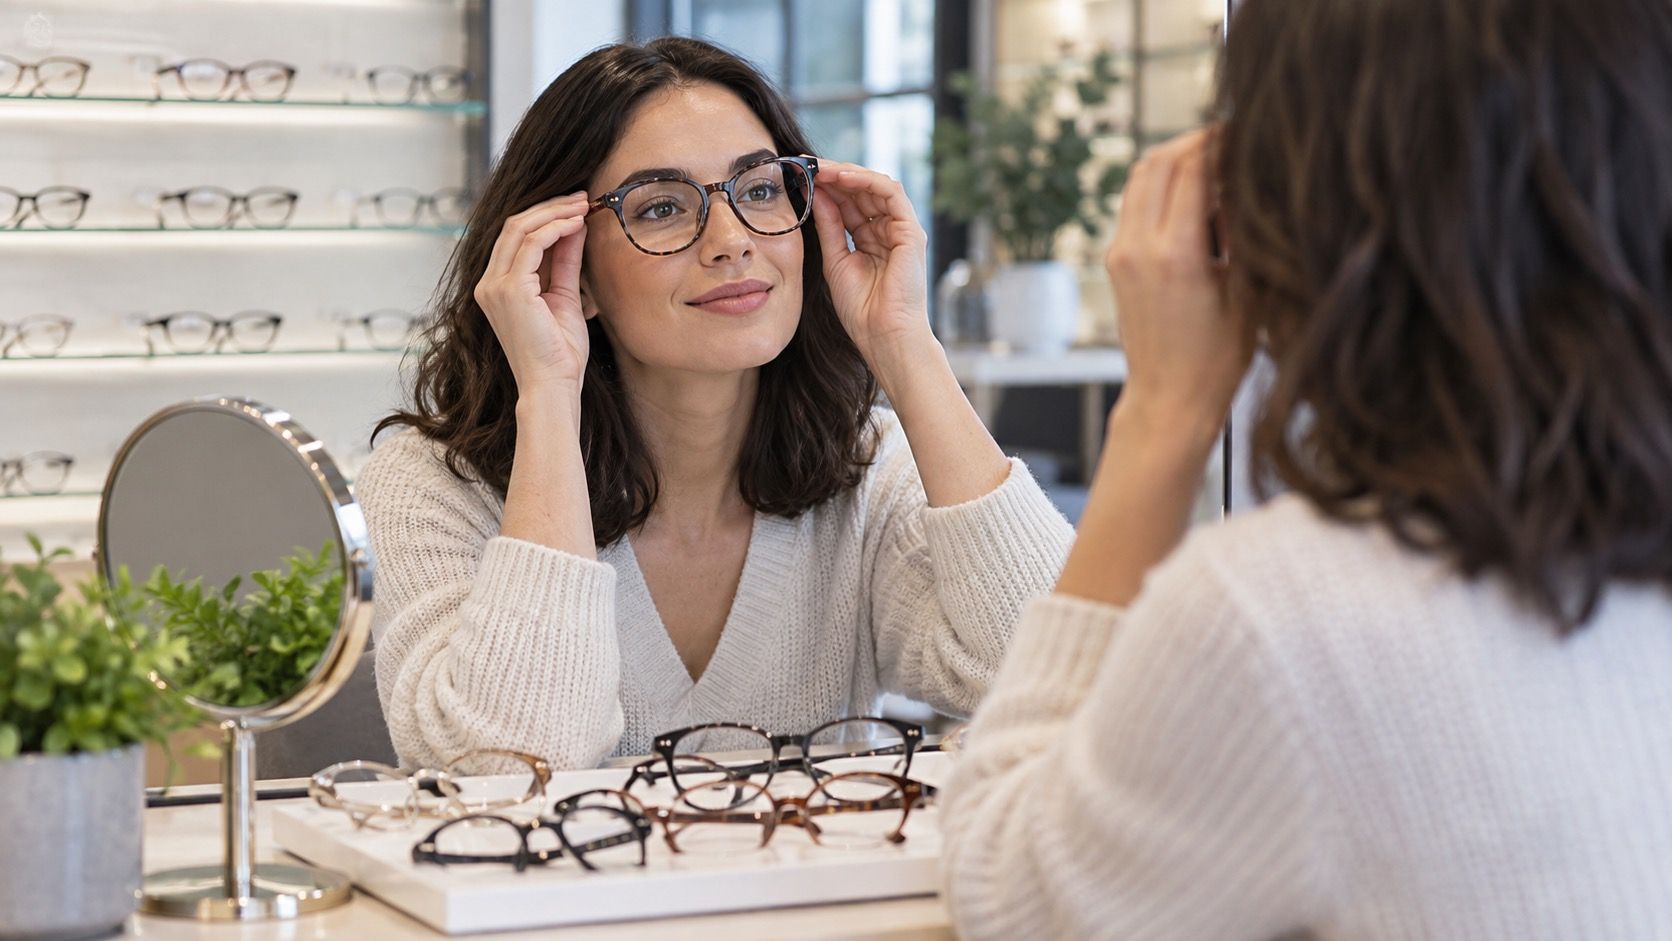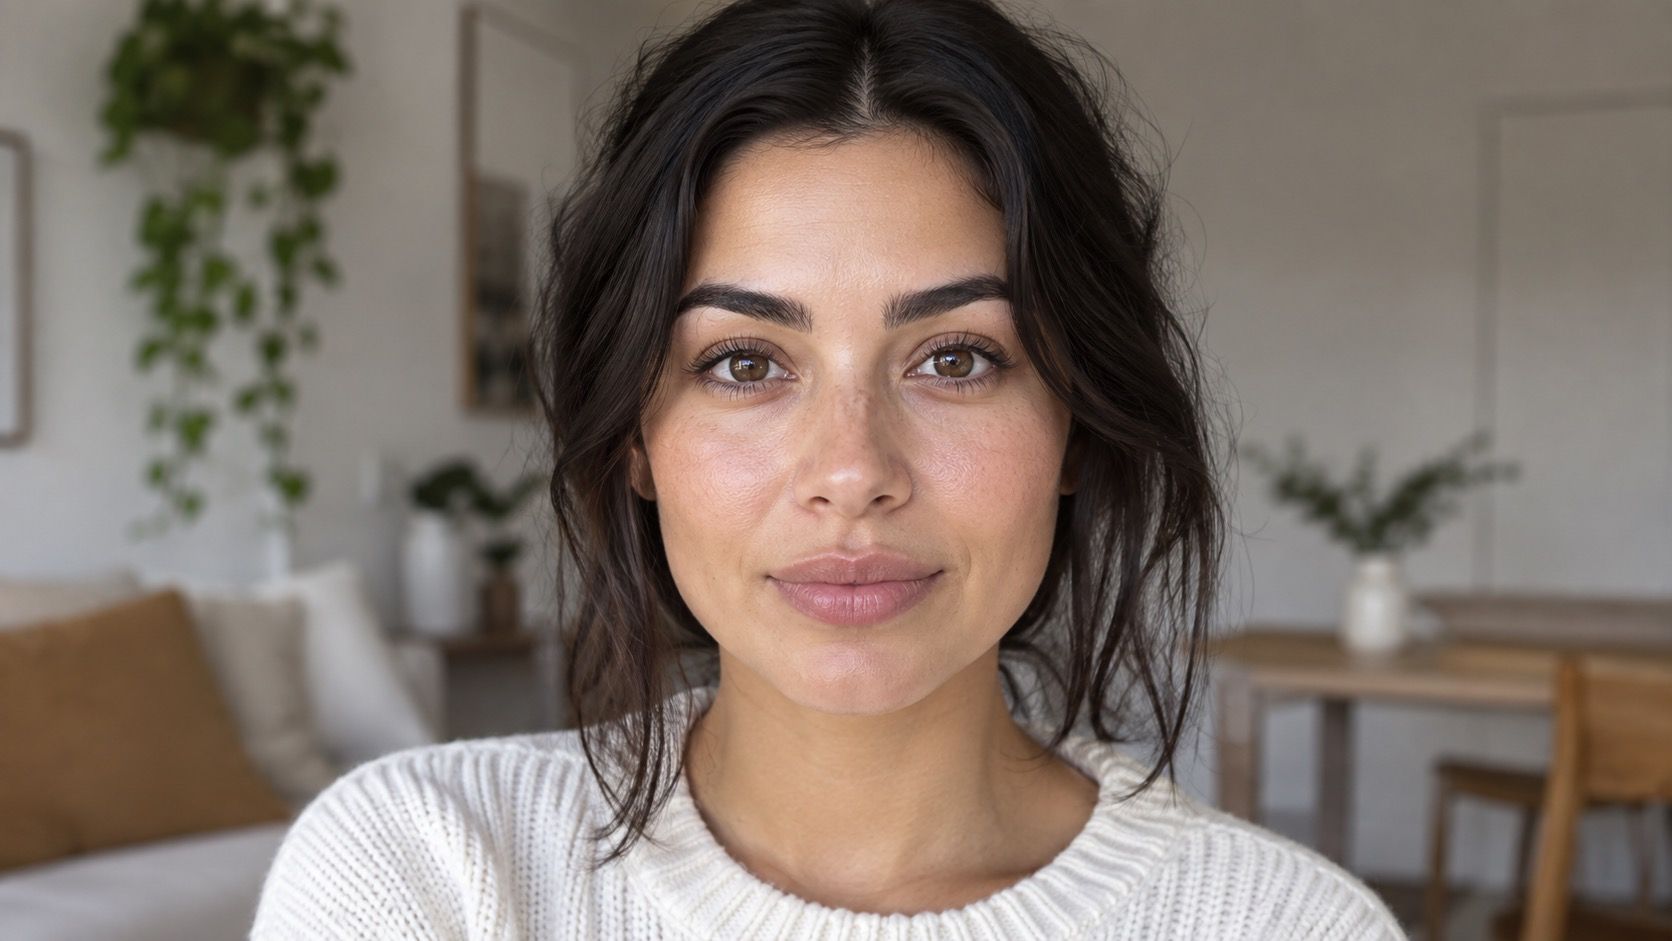
A good photo can make face-shape comparison convenient, provided the image shows your features without dramatic lens distortion, posing, or shadows. Choose a clear, front-facing picture, then compare the width of your forehead, cheekbones, and jaw with the length of your face. You are looking for a repeated overall pattern, not trying to force your portrait into a single label. If two shapes seem close, that is normal; many faces combine traits from more than one category.
Choose a photo that shows your real proportions
The best starting image is taken at eye level from a normal distance, with your face aimed straight at the camera. A simple daylight photo works better than a close selfie, a sharply angled portrait, or a picture made with a wide lens. When a camera is held too close, the center of the face can appear larger and the sides can pull away, which changes the apparent width of the forehead, cheeks, and jaw. Avoid beauty filters, heavy retouching, and strong shadows, since each can soften or sharpen the outline. Your expression should be relaxed, with lips resting naturally and your chin neither tucked nor lifted. If possible, compare two similar photos. A feature that appears in both is more dependable than one created by a pose.
Make the outline easy to see
Pull hair back or choose an image in which the hairline, temples, and jaw are visible. Hair is part of your style, but it can hide the structure you are trying to compare. Bangs may make the forehead seem smaller, curls can add width around the cheeks, and a deep side part can make one side of the face look different from the other. Crop the photo loosely so you can see the whole head and neck without zooming in until pixels distort the edges. It can help to view the photo in black and white for a moment; without color and makeup, the broad outline is sometimes easier to notice. Do not trace the face too literally. The aim is to observe its direction and proportions, not to draw a flawless geometric shape.
Compare forehead, cheekbones, and jaw
Look first for the widest horizontal area. If the cheekbones appear widest and the forehead and jaw both narrow away from them, the photo may show a diamond-like pattern. If the forehead or temple area is widest and the face tapers to a narrower chin, it may lean heart-shaped. When the forehead, cheekbones, and jaw look similar in width, look closely at the jawline: stronger corners often lean square, while soft curves can lean round. An oval face usually has cheekbones that are a little wider than the forehead and jaw, with gentle narrowing toward the chin. Compare the full width on each level rather than a single side, because everyday facial asymmetry can make a one-sided glance misleading.
Check face length and the lower outline
Now compare the distance from the hairline to the chin with the widest part of the face. A face that is noticeably longer than wide may fall closer to oval, oblong, or rectangular patterns. The distinction comes from the edges: an oval outline usually curves gently, while an oblong or rectangular face often keeps straighter sides or a more defined jaw. If length and width feel similar, the image may lean round or square. Look at how the lower face travels from cheekbone to chin. Does it taper gradually to a narrower point, soften into a rounded chin, or hold its width before turning at the jaw? That route usually tells you more than the chin tip on its own.
Watch for common photo distortions
Camera distance is the biggest source of confusion, but it is not the only one. A camera positioned above eye level can make the forehead look more prominent and the chin smaller. A low angle can broaden the jaw and shorten the face. Side lighting may make one cheekbone look higher or one jaw corner look sharper. Smiling can lift and widen the cheeks, while pursing the lips can change the apparent chin shape. Glasses, contour makeup, facial hair, and even the neckline of a top can influence the first impression of a portrait. None of those things make the photo unusable; they simply mean you should compare it with a second neutral image before settling on a description.
Use simple markers, not an app filter
If you want a closer visual check, place four small mental markers on the image: the widest forehead points, the widest cheekbone points, the widest jaw points, and the top and bottom of the face. You can compare these spans by eye or use a screen ruler, but keep the photo at its original proportions. The result does not have to match a published ratio. Instead, note relationships such as “cheekbones are widest,” “the face is a little longer than it is wide,” or “the jaw narrows noticeably toward the chin.” Those observations remain useful even when no single label feels perfect. Avoid relying on automatic face-shape filters; they may use beauty conventions, cropped images, or opaque scoring rather than the proportions visible in your photo.
Turn the observation into a useful choice
Once you have a likely pattern, use it as a starting point for choices you already care about. When trying glasses, compare frame width, bridge fit, and how the shape feels on your face instead of following a strict “best for” list. For haircuts, consider texture, maintenance, and the way you like to wear your hair before trying to balance any feature. Makeup, earrings, and facial hair work the same way: they can emphasize an area or leave it alone. A face-shape label should never make your options smaller. A reliable photo check simply gives you a clearer vocabulary for the proportions you see and a better basis for experimenting.
For the most balanced check, return to the original image after a short break and describe it in ordinary words before naming a shape. You might notice that the forehead is broad, the cheekbones are soft, or the lower face is narrow—details that a one-word label can hide. Those details are also the ones that translate best when you are choosing a frame, discussing a haircut, or simply learning to see your own features more clearly.