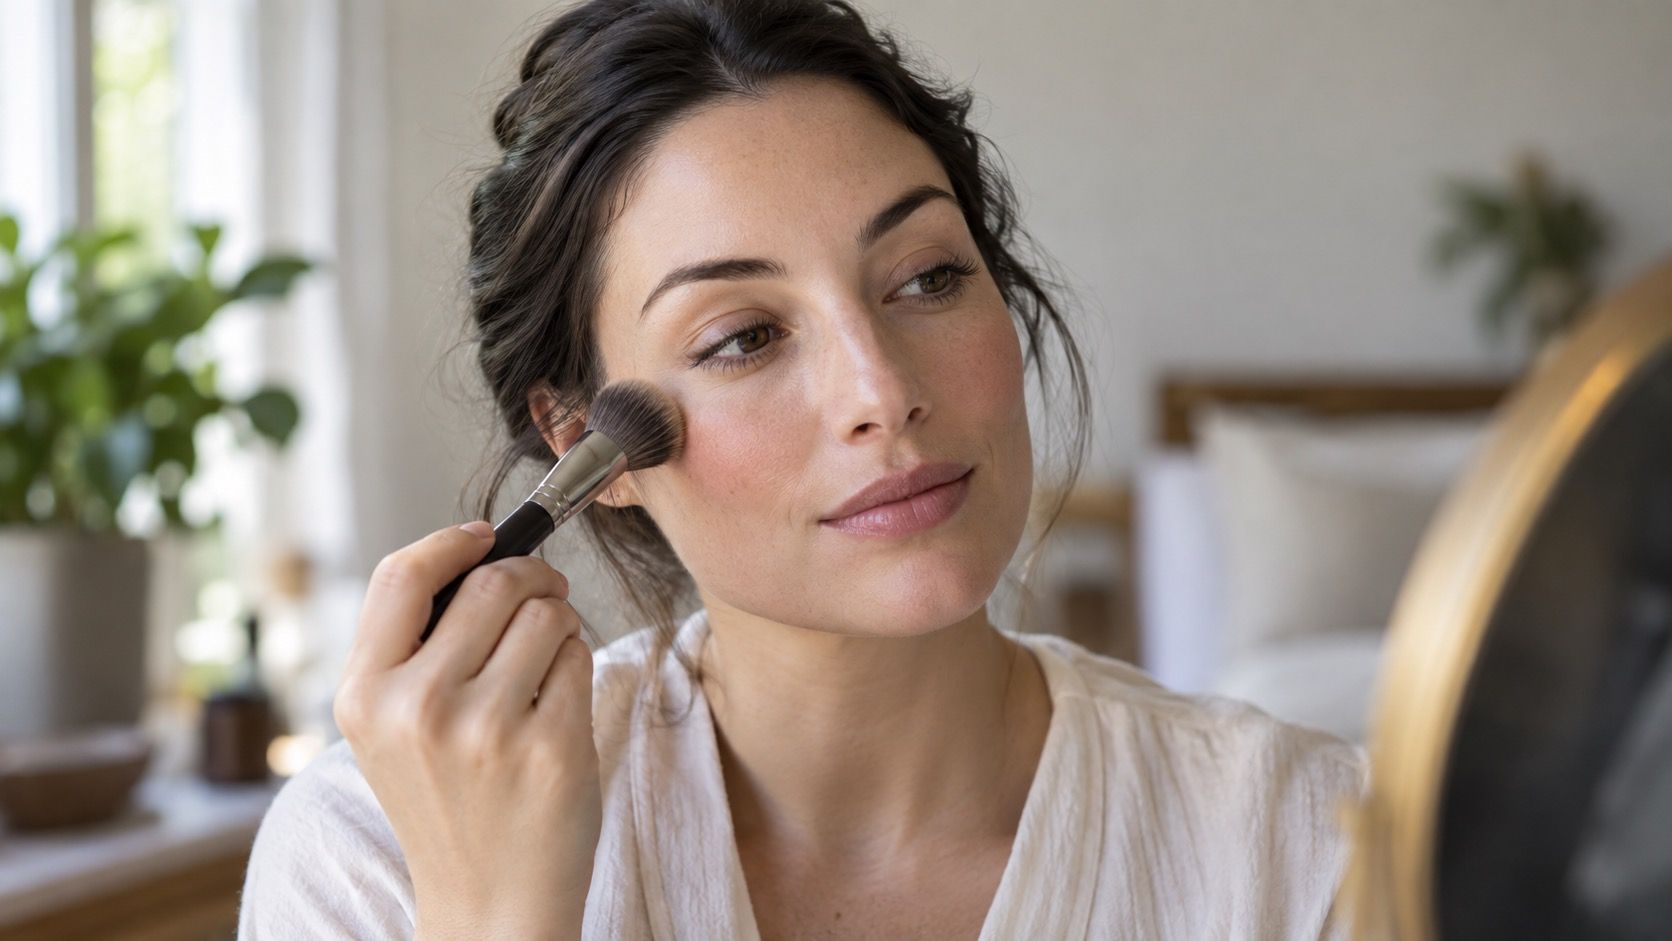
Makeup can draw attention to the parts of your face you want to celebrate, but it does not need to correct or disguise anything. Face shape is simply one way to think about placement. The same blush, bronzer, or highlighter can look very different depending on where it starts, how far it is blended, and how much product you use. Begin with a light hand, watch how the makeup looks in normal daylight, and adjust until the result feels like your version of polished.
Build a fresh base first
Placement looks best when the skin underneath is comfortable. Start with the amount of base product you actually need, whether that is concealer only, a skin tint, or fuller coverage. Apply in thin layers and give each one a moment to settle. A heavy foundation can make contour and blush harder to blend, while a sheer base lets natural dimension show through. Choose products that suit your skin type, not only the finish you see in a tutorial.
Use light where you will actually be seen. Bathroom lighting can make makeup look more even than it does outdoors, so check near a window or step outside with a small mirror. If your foundation line, concealer, or blush disappears into the skin in daylight, you are already close to a flattering result. There is no need for perfectly symmetrical application; faces are naturally uneven, and trying to erase every difference often makes makeup look less relaxed.
Find the high point of your cheek
The high point of the cheekbone is a useful landmark for almost everyone. Find it by smiling gently or by feeling the bone beneath the outer corner of the eye. Blush placed here and blended outward usually creates a lifted, fresh effect. If you prefer a softer, more youthful flush, start a little closer to the apples of the cheeks and blend toward the temples. For a more sculpted look, keep the color higher and farther back.
Face shape can influence how far you take the color. On a rounder face, blending blush outward and slightly upward may emphasize lift. On a longer face, a more horizontal sweep across the cheeks can create width. If your forehead is broader or your jaw more prominent, you may enjoy keeping the brightest color close to the center of the cheek. None of these approaches is mandatory. They are simply different effects to try with the same product.
Use contour to add a shadow, not a stripe
Contour works best when it imitates a soft natural shadow. Choose a shade that is a little deeper and less warm than your skin tone, then use less than you think you need. Rather than drawing a long dark line under the cheekbone, place a small amount just beneath it and diffuse the edges upward and outward. A cream formula can be easy to melt into the base, while powder is convenient for layering over set makeup.
If you want to add definition near the forehead or jaw, keep the application close to the edge and blend thoroughly. A broad forehead might look balanced with a touch of soft bronzer near the hairline; a defined jaw can be left bare or lightly shaded depending on the finish you enjoy. Contour is optional, especially for everyday makeup. Blush, brows, and a little concealer often create plenty of structure on their own.
Let highlight follow the light
Highlighter is most convincing when it lands where light naturally catches: the upper cheekbones, the brow bone, the inner corners of the eyes, or the center of the lid. A satin product gives a gentle sheen, while a glittery formula is more noticeable and can emphasize texture. For daytime, tap on a tiny amount and check it from the side. It is easy to add more, but hard to make a heavy layer look effortless.
Think about balance with the rest of the face. If you have placed a luminous blush high on the cheeks, you may only need highlighter on the inner corners and brow bone. If your makeup is matte, a touch on the cheekbones can bring it to life. Avoid feeling that every traditional placement point needs product. Leaving some areas natural often makes the finished look more dimensional.
Frame the face with brows and eyes
Brows have a strong effect on the overall impression of the face, so work with their natural direction before trying to change their shape. Brush hairs upward, fill sparse areas with small strokes, and step back often. A very sharp, dark brow can overpower soft makeup, while a softly defined brow can hold its own next to a bold lip. The ideal amount of structure depends on your hair color, skin tone, and the rest of your routine.
Eye makeup can echo the direction you have chosen for blush. A lifted wing or an outer-corner shadow creates an upward line; softly blended shadow all around the eye feels more rounded and diffused. If you wear glasses, check the look with your frames on, because the rims and lenses change how color reads. Let your own features set the mood instead of trying to make every element follow a face-shape formula.
Check the whole face, then make it yours
After adding color, take a moment to look at the whole face from arm's length. You may find that one cheek needs a little more blush, that the contour is visible only on one side, or that your skin looks best after pressing a clean sponge over everything. These small adjustments are more useful than starting over. Makeup changes as it wears, so give yourself permission to keep the first pass simple.
If you are unsure where to begin, choose one feature to emphasize rather than applying every product at once. A bright blush with brushed-up brows can be enough for a casual day, while a softly sculpted cheek and luminous lid may suit an evening out. Build the look in stages, taking a quick photo after each major step. Pictures can show whether the color is reading evenly, but do not let a camera replace your own sense of what feels comfortable.
There is no universal map for blush, contour, or highlight. The most useful routine is the one that feels good on your skin and still looks like you in a normal mirror, a quick photo, and daylight. Use face shape as inspiration when you want to experiment, then keep the placements that make you feel confident. Wash it off, try a slightly different angle tomorrow, and remember that makeup is a flexible tool, not a test you can fail.